Filtering and Searching Requests
The History page includes filtering capabilities that help you narrow down classification requests to find exactly what you’re looking for. Whether you need to review a specific request, analyze patterns by source, or examine all failed classifications, filters let you quickly isolate relevant results.
Available Filters
The filter bar appears at the top of the History page, above the request table. All filters work together—you can combine multiple filters to create precise queries.

Request ID
Search for a specific classification request by its unique identifier.
How to use: Enter the complete request ID in the search field. Request IDs are available in the “Categorization details” dialog when you click View on any request in the History table.
When to use:
- Troubleshooting a specific classification issue
- Following up on a request reported by your team
- Reviewing details of a particular product classification
Example: Search for req_abc123xyz to view that single request.
Source
Filter requests by where they originated.
Options:
- All Sources (default) - Shows requests from all sources
- Playground - Only web interface classifications
- API - Only programmatic requests
- MCP server - Only Model Context Protocol requests
When to use:
- Monitoring API vs Playground usage patterns
- Debugging issues specific to one integration
- Analyzing which systems generate the most classifications
- Reviewing test classifications separately from production requests
Example: Select “API” to see only production classifications, excluding any testing done in the Playground.
Status
Filter by classification outcome to focus on specific result types.
Options:
- All Statuses (default) - Shows all classifications
- Categorized - Only requests where a category was found (green and yellow indicators)
- No Category - Only requests where no category was returned (black indicators)
- Error - Only requests that failed with an error (red indicators)
For detailed explanations of what each status means, see Understanding Status Indicators.
When to use:
- Identifying products that need better descriptions (No Category results)
- Reviewing lower-confidence classifications (Categorized status includes yellows)
- Troubleshooting API errors (Error status)
- Measuring successful classification rate
Example: Select “No Category” to review all products that returned black indicators, then improve their descriptions or add custom instructions.
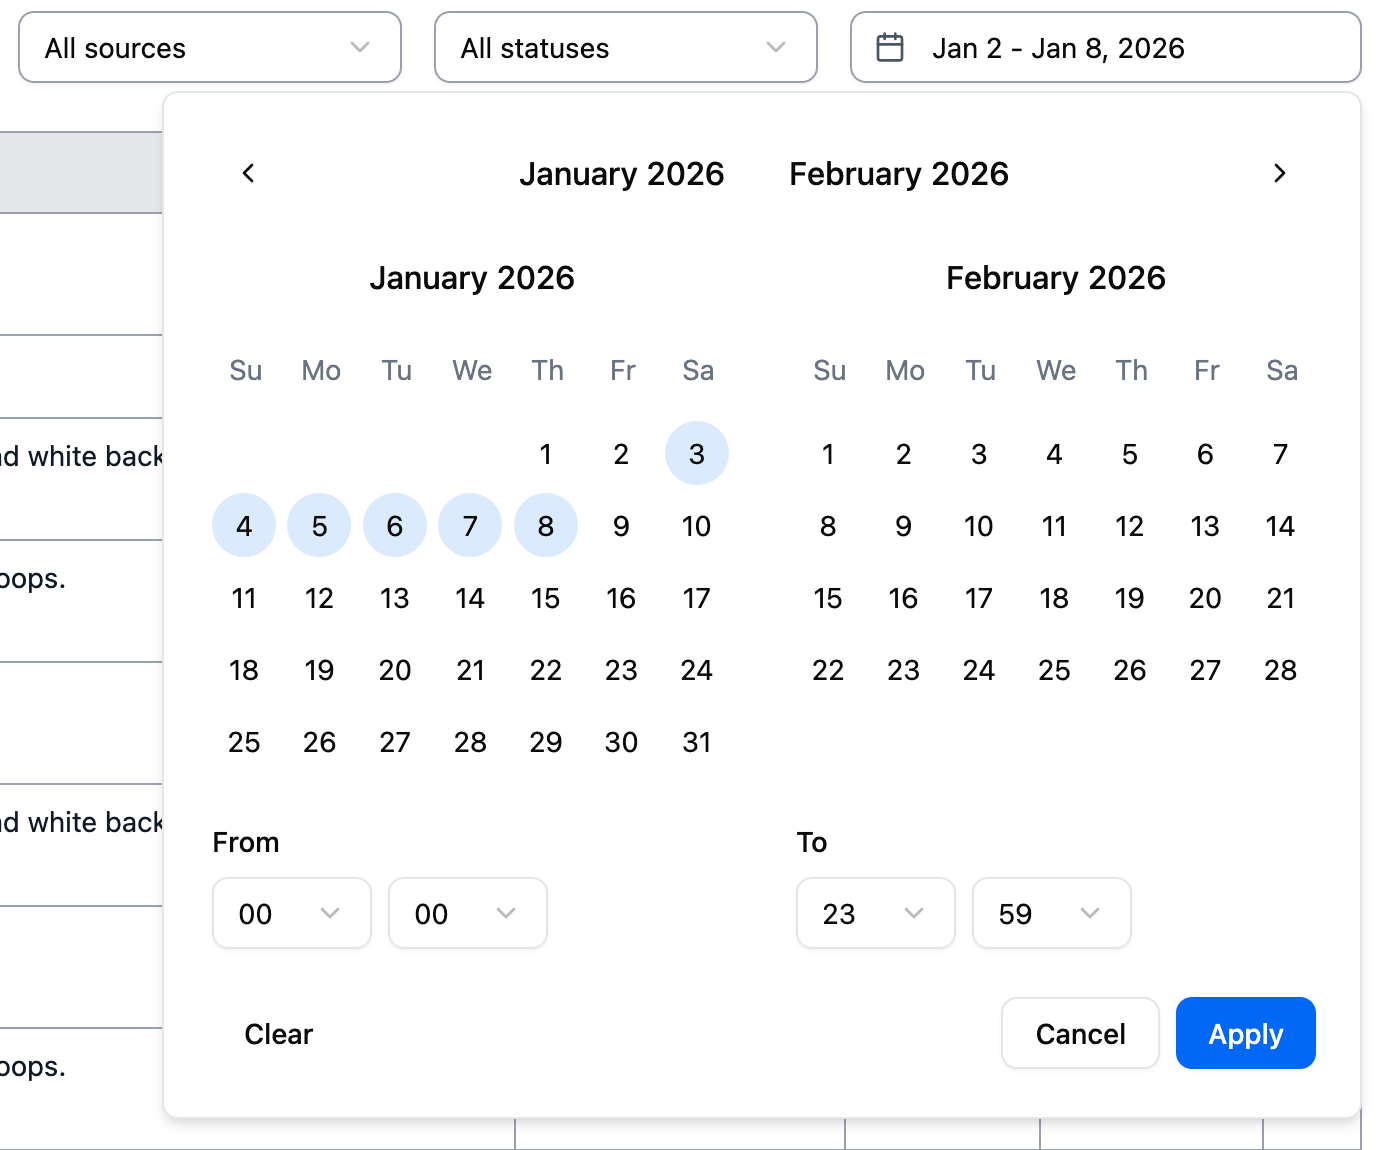
Date Range
Filter requests within a specific time period.
How to use: Click the date range picker to select start and end dates. The History page retains data for 45 days, so you can select any range within that window.
Default: Last 7 days
When to use:
- Comparing classification patterns over time
- Reviewing yesterday’s bulk import
- Auditing a specific deployment or configuration change
- Analyzing recent error rates
Example: Select “Yesterday” to review all classifications from your latest batch import.
How Filtering Works
Immediate Results
Changing any filter immediately reloads the History table with matching requests. No “Apply” button is needed—results update as soon as you adjust filters.
Combined Filters
All active filters work together using AND logic. Each filter further narrows your results.
Example combined filter:
- Source: API
- Status: No Category
- Date range: Last 24 hours
This shows only API requests from the last 24 hours that returned no category. Use this to identify recent API classifications that need attention.
Resetting Filters
To reset to the default view:
- Change each filter back to its default value
- Source: All Sources
- Status: All Statuses
- Date range: Last 7 days
Or refresh the page to reset all filters at once.
Common Filtering Scenarios
Reviewing Failed Classifications
Goal: Find products that need better descriptions
Filters:
- Status: No Category
- Source: All Sources
- Date range: Last 7 days
Review these results and improve product descriptions or add custom instructions for recurring patterns.
Monitoring API Errors
Goal: Identify and troubleshoot API issues
Filters:
- Status: Error
- Source: API
- Date range: Last 24 hours
Check for patterns in error messages, authentication issues, or rate limit problems.
Analyzing Test vs Production
Goal: Separate testing activity from production classifications
Filters for testing:
- Source: Playground
- Date range: Today
Filters for production:
- Source: API
- Date range: Last 7 days
Compare results to ensure your Playground testing translates well to production.
Audit Trail for Specific Request
Goal: Find complete details for a reported issue
Filters:
- Request ID: [paste ID from support ticket]
This returns a single request with all details. Click View to see the complete classification information.
Measuring Classification Quality
Goal: Understand your success rate
First query (successful):
- Status: Categorized
- Date range: Last 7 days
Note the count of results.
Second query (failed):
- Status: No Category
- Date range: Last 7 days
Compare the counts to calculate your classification success rate.
Tips for Effective Filtering
Start Broad, Then Narrow
Begin with broader filters and add more specific ones as you identify patterns:
- Status: All Statuses
- Notice many No Category results from yesterday
- Add Date range: Yesterday
- Add Source: API
- Now reviewing yesterday’s failed API classifications
Use Request ID for Debugging
When investigating a specific issue:
- Get the request ID from your logs or the View dialog
- Filter by that request ID
- Review complete classification details
- Check product description, settings used, and result
Review Yellow Results Regularly
Yellow indicators (RelevantCategory confidence level) represent lower-confidence classifications. Filter for these to identify products that might benefit from:
- More detailed descriptions
- Custom instructions
- Manual verification
Note: To see yellow vs green results, you’ll need to view individual requests since the Status filter only distinguishes Categorized vs No Category vs Error.
Track Patterns Over Time
Use date ranges to spot trends:
- Compare error rates week over week
- Identify if new products cause more No Category results
- See if configuration changes improved success rates
Limitations
45-Day Retention: Only requests from the last 45 days appear in History. Older requests are automatically deleted.
No Text Search: You cannot search within product descriptions or category names. Use Request ID to find specific requests.
Status Filter Granularity: The Status filter distinguishes between Categorized (green and yellow) and No Category, but not between green (AI-selected) and yellow (top-ranked fallback) indicators. Click View on individual requests to see the specific confidence level.
Next Steps
- Understanding Status Indicators - Learn what each colored indicator means and how to interpret patterns
- Viewing Request Details - Explore the complete information available for each request
- Classification Strategies - Optimize your approach based on History patterns
- Using the Playground - Test improvements to products with No Category results